Planning is a fundamental step in any video-making venture, including a micro-learning video, sales video, short business video, or film. As a vital part of the pre-production process, storyboarding has a lot to do with a filmmaking project. It enables the filmmaker to visualize a shot list while preparing for the production. Storyboarding goes a long way for film production to run smoothly. It demonstrates shots in order, allowing the filmmaker to describe how the story flows.
Definition of a Storyboard
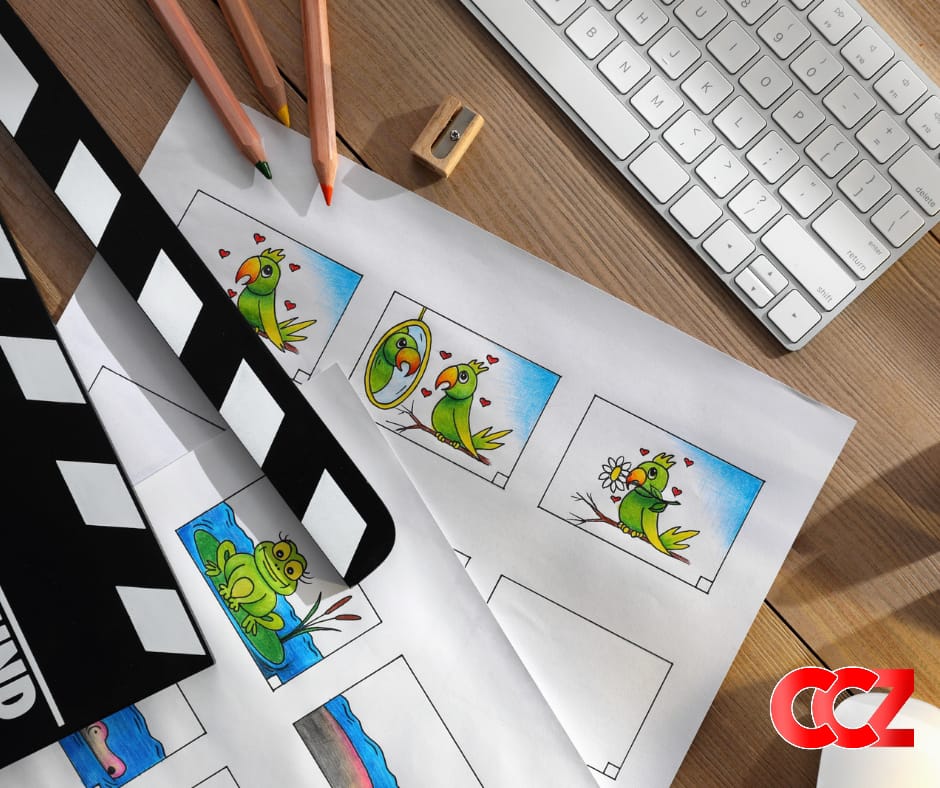
Storyboards may look like a comic book version of a film or video script. They are a graphical representation of how a film or video will uncover, shot by shot. It comprises many squares with images or illustrations to represent every shot. For instance, it can show what happens in the scene or what the script says during that. Squares in a storyboard indicate the movie scene, whereas lines under each square represent text.
Storyboarding comes in handy in quickly picturing one’s ideas, whether one plans to create a marketing video for social media, a TV commercial, or a movie. It represents the shots strategized for a film or video production and covers its fundamental actions, angles, and shots. Although storyboarding may take some time, it will save the filmmaker time in adjustments later.
Steps of a Storyboard Creation
Generally, using a simple word-processing app or making a PowerPoint deck is an easy way to create a storyboard. It is also doable to find printable storyboard templates online and use them for storyboarding. Some filmmakers prefer working with specialized software programs to benefit from a more comprehensive solution.
While many ways help create a storyboard, using a pencil and paper will suffice for a beginner artist. It also depends on the requirements of a filmmaking or videomaking project. Generally, adding more details to the storyboards comes in handy for more complex film projects.
The steps of creating a storyboard include the following:
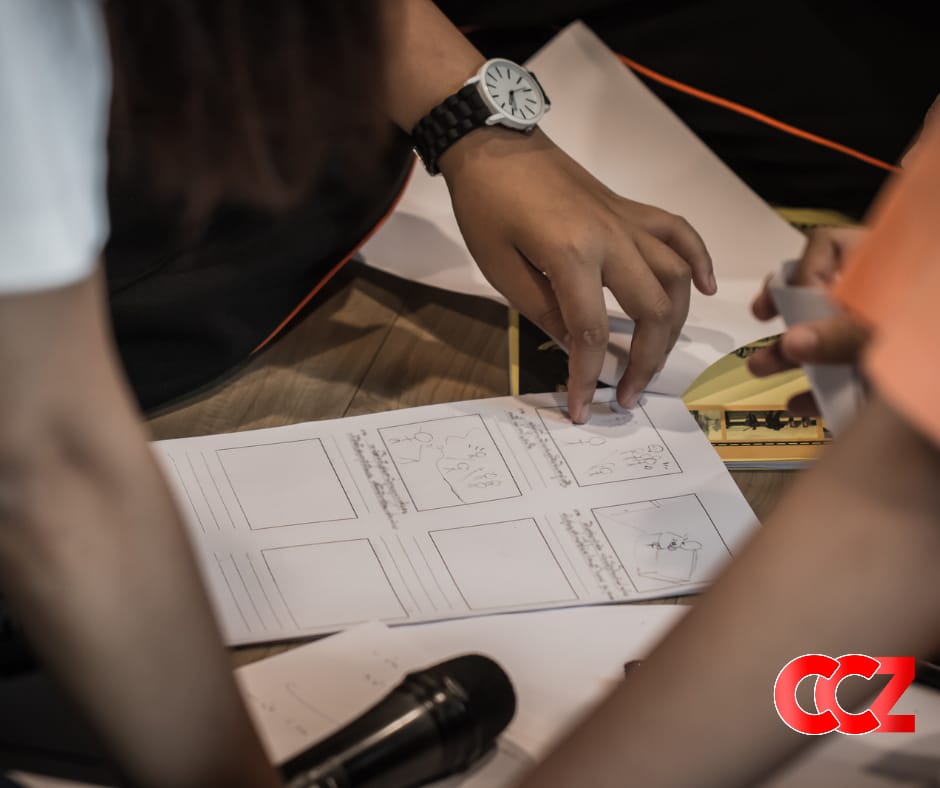
1. Creating Blank Squares
Drawing a sequence of squares is the first step of storyboarding. While it does not need expert drawing skills, stick figures are usually sufficient. One can sketch the scenes using a pencil, make them on the PC, or take pictures. It is necessary to vacate space to jot down lines from the story under or beside each frame.
2. Adding the Script
Each picture in the storyboard needs lines from the script that will be part of that scene. Filmmakers also need to add some notes about what is happening in that scene. A storyboard has to look like a comic book for coworkers or clients to get a sense of what will happen in the movie. It is also vital to keep the objectives of every video or film in mind in the early stage of storyboarding. The second step of storyboarding is the best time to tweak the visuals and story to create the most attractive videos or movies.

3. Story Sketching
Filmmakers should sketch how they want each scene to look visually, though they do not need to make their storyboard exceptionally detailed. Accordingly, providing enough visual details will suffice to give an idea of what is going on in the frame, the characters, the settings, and others. The notes and script will help fill in the rest of the details. They can also include notes about production or post-production, camera angles, movements, and transitions between scenes to use throughout the film production.
Importance of a Storyboard
Almost everyone experiences a situation where they want to explain something but the other person cannot see their vision. Most stakeholders do not know how to imagine a text deliverable, including a script. Using a storyboard will allow the filmmaker to show people how they want to map out their video or film and how it would look. They make it easy for other people to understand their ideas.
As mentioned earlier, storyboarding refers to making a visual roadmap for filmmaking and videomaking, which helps them find the finest way to shoot the video. Storyboards bring a way to arrange a video production involving primary angles, shot lists, and lots more.
Like a film script, the storyboard visually guides the filmmaker throughout the production. When planning a film, they know which shots they want to create and how to do it when the film shooting begins. Filmmakers can make simple adjustments to their storyboard based on feedback from other team members and colleagues.
1.Film Production Goes Easier & Smoother with a Storyboard
Setting up a film production plan is what a storyboard does for the filmmaker. It talks about every shot the director will lay out and bring the visuals together with the script. Since the director plans a video or movie storyboard, it becomes easier for them to shoot. It also strategizes how the visuals will interact with the story. The storyboard suggests the line around which the filmmaker can plan their coverage. Since it helps the cinematographer remember all the scenes, they place the scene together according to their vision.
2. A Storyboard helps Share Filmmaker’s Vision.
Generally, visual aid helps the filmmaker make their point clear and more effective as they put their vision on display for the stakeholders. Visuals come in handy for people to understand what the filmmaker is doing, no matter what they want to illustrate. While a film script may help others conceptualize the film or video, storyboarding tends to be more effective in bringing it to life due to its visual nature. Plus, sharing the storyboard in the pre-production phase helps decision-makers and collaborators understand the vision
3. Storyboarding Saves Time
Investing some time in making the storyboard allows the filmmaker to avoid making changes in the draft later. They visualize their story’s layout to explain their vision to the team and make the scriptwriting smoother. Storyboarding makes filmmakers work on the details of their films ahead of time. It might also enable them to identify if they are missing dialogue or some essential piece of logic in their story or whether their visuals go together as cohesively as they assumed. Identifying and solving these issues before creating the video or film will prevent wasted effort afterward.